Overview
TheAsset Explorer offers a streamlined interface for analyzing and interacting with individual assets and their relationships. It offers a centralized dashboard for viewing and editing properties, managing connections, and visualizing the immediate network neighborhood of a specific asset.
There is also an interactive tour showcasing this, see here.
Opening the Asset Explorer
There are two ways to navigate to theAsset Explorer:
- Via the sidebar: Navigate to the
Asset Explorersection located belowHomein the left sidebar. This shows the asset type tree browser on the left, the search bar in the center and the asset “Statistics” in the right panel. - Within a diagram or table view, you select a single asset and then click the
Open Details Page. This will directly open the according asset profile within the Asset Explorer.
Accessing the Data Schema
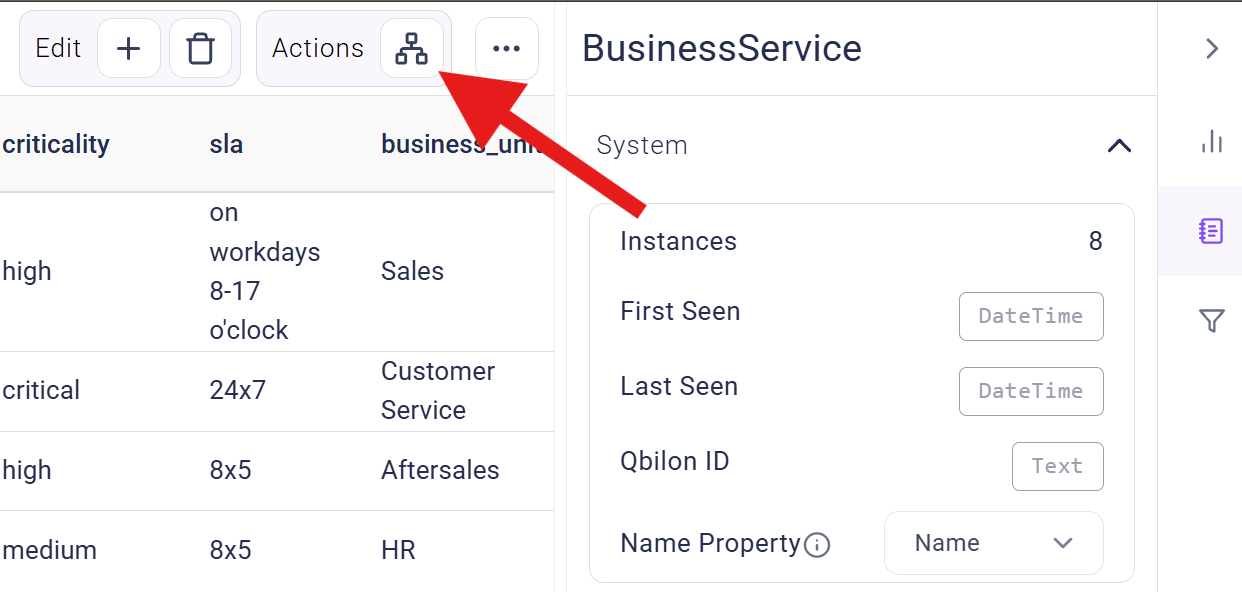
The data schema (or “meta model”) that the asset types and relation types represent, can be accessed via the “tree icon” in theActions area on the top right corner. Returning to the default Asset Explorer view is possible by clicking again on the icon within the Actions area (Switch to Instances Table).
Asset Explorer Tree Browser
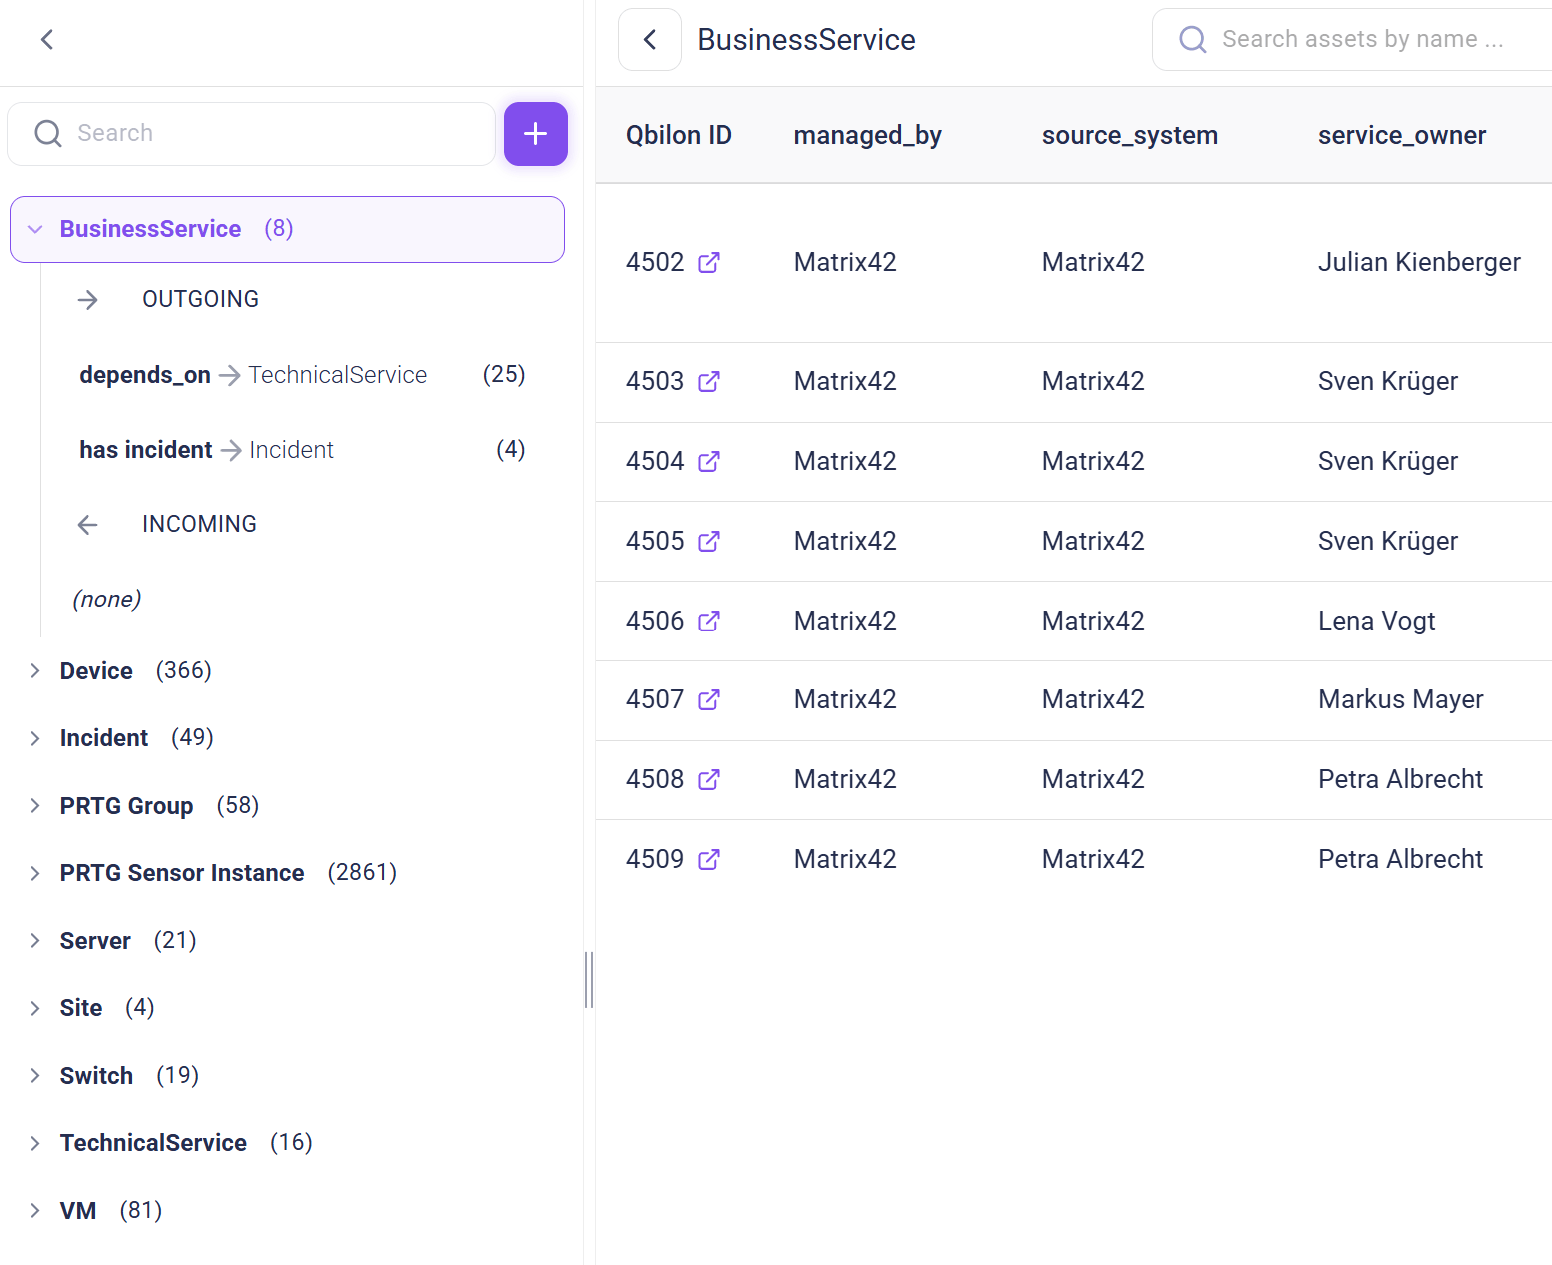
The tree browser on the left side shows all asset types, the count of the according asset instances (in brackets) as well as the relations that connect a specific asset type with another one. The latter are divided into “outgoing” and “incoming” relations. Clicking on the asset type name (such as “BusinessService” in the example screenshot below) opens a list of all asset instances that have this type. Clicking on a relation type name among “outgoing” or “incoming” shows all suitable relation instances. Users can always navigate to the listed assets/relations by clicking the “link icon” next to them.
Asset Details View
The asset profiles (details pages) shown within theAsset Explorer are divided into several dedicated sections to manage different aspects of an asset.
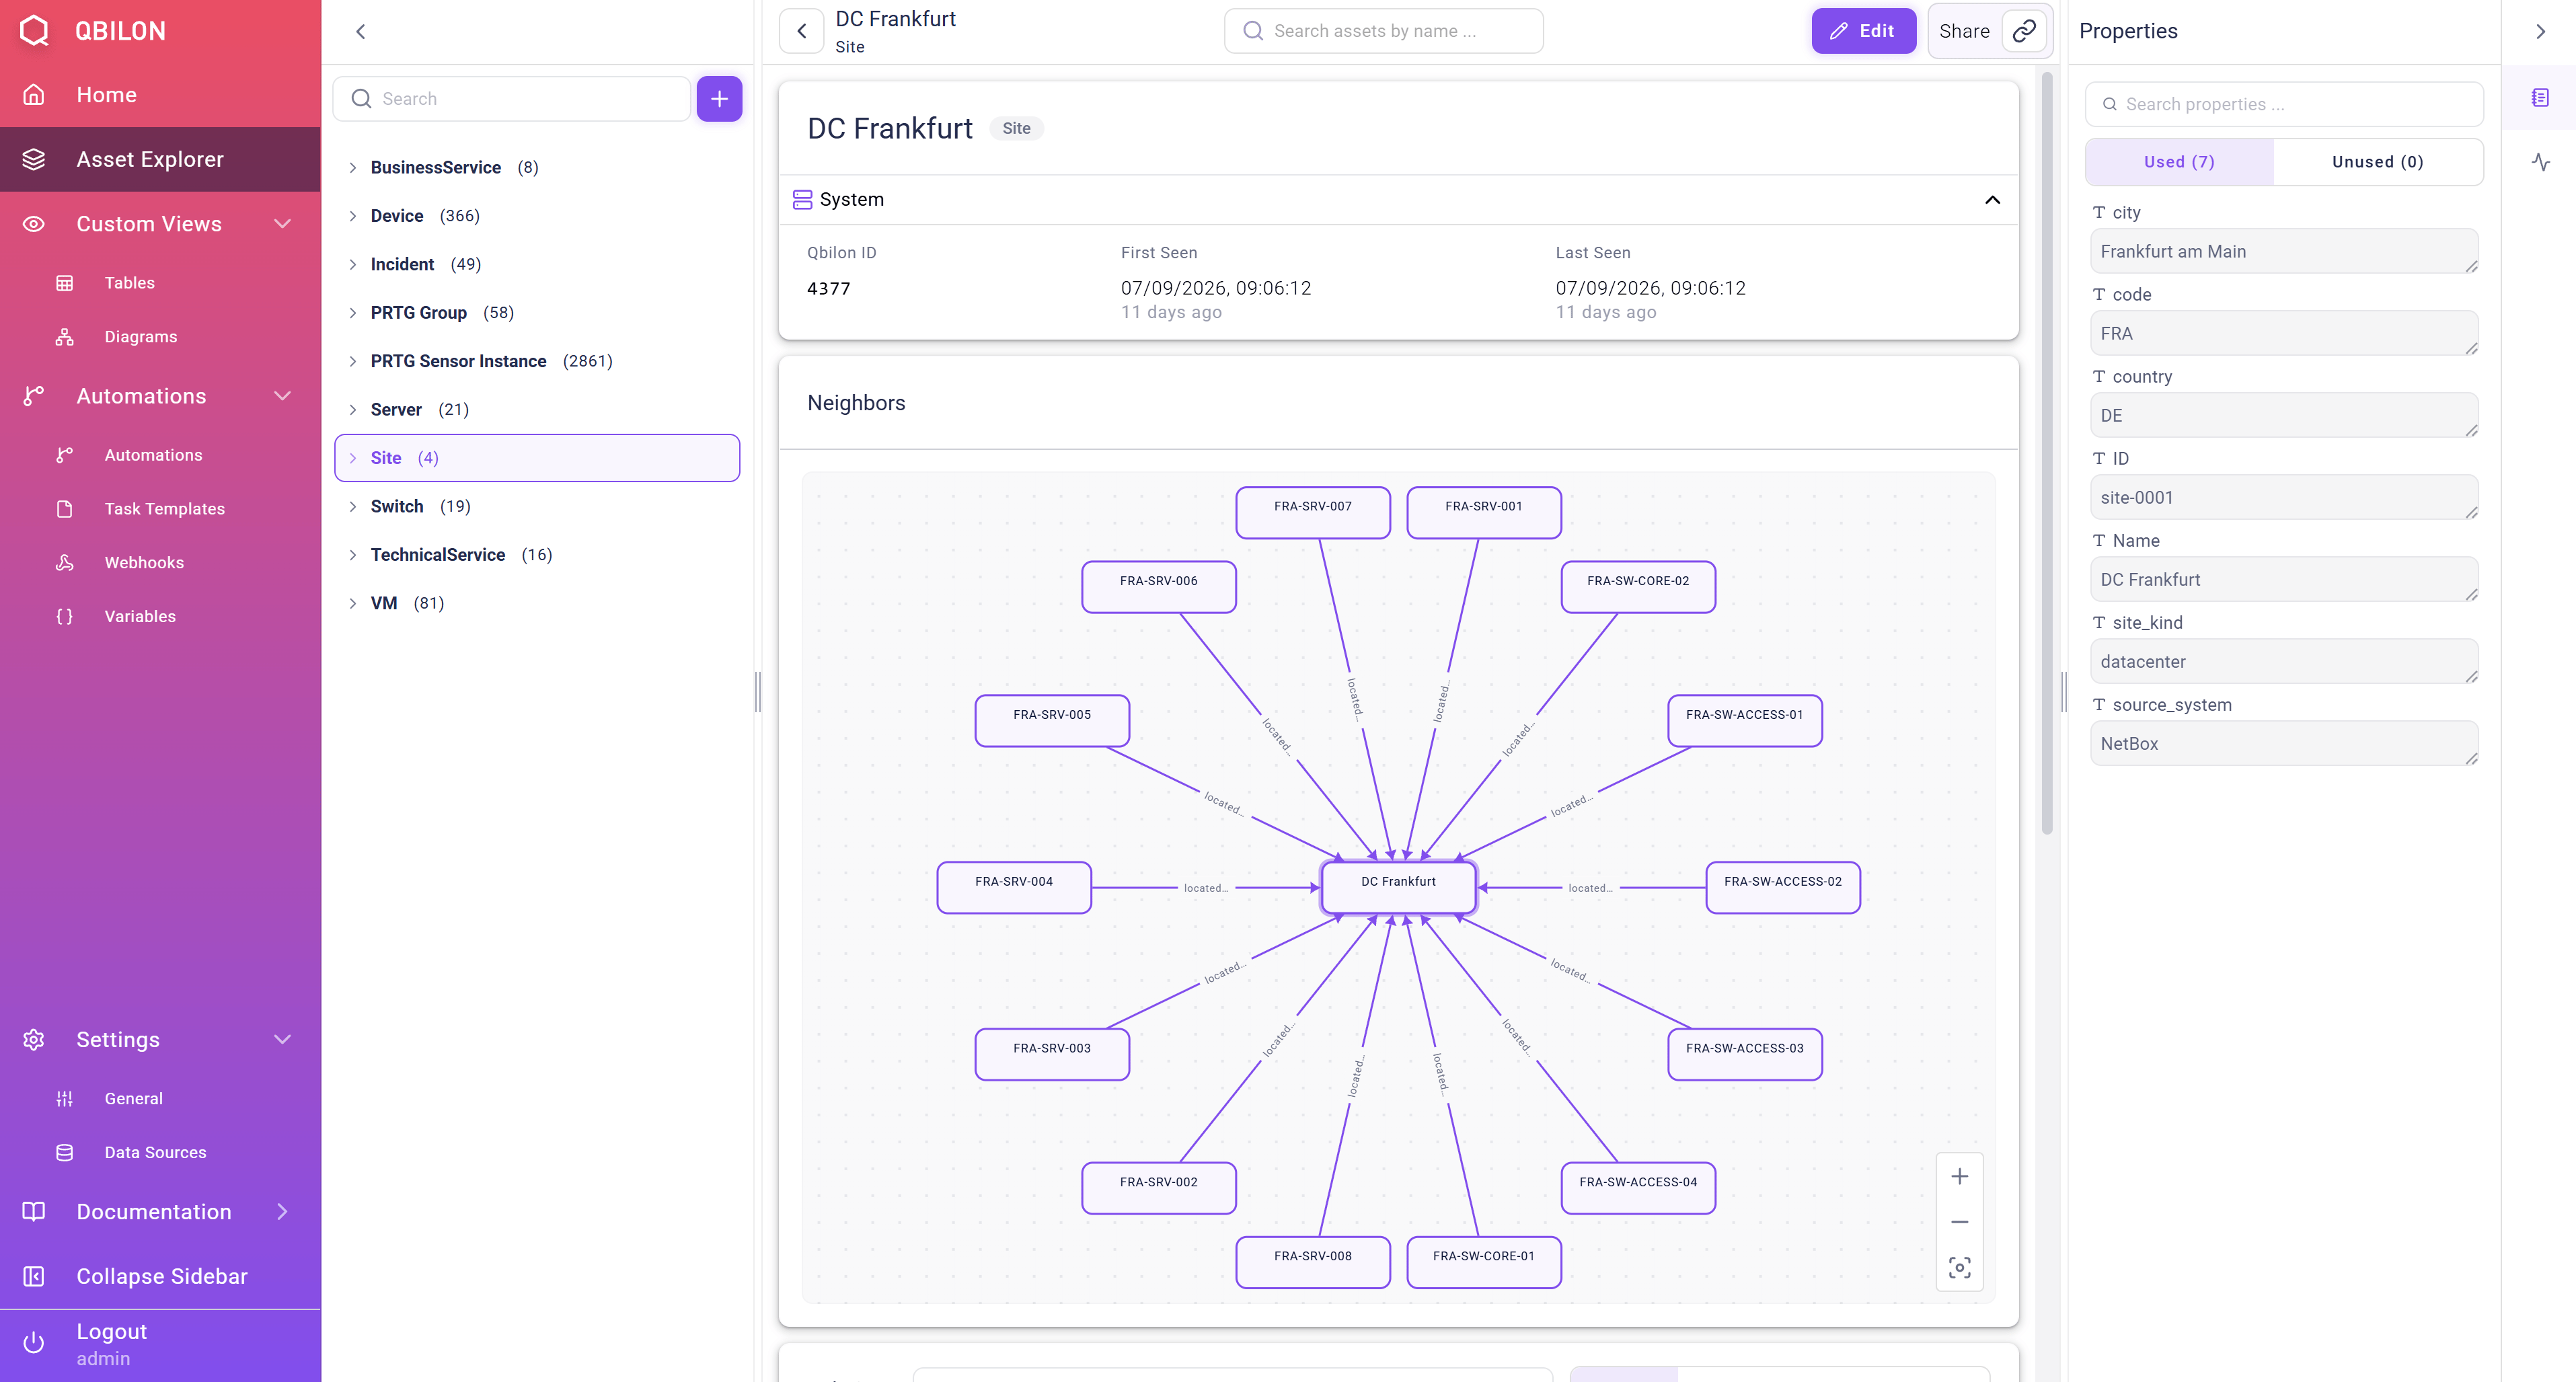
Search Bars
There is an asset search bar either at the center of the page (“Asset Explorer” start page) or at the top (while accessing asset profiles):- The search function matches asset names and types.
- Results appear in real time via a dropdown menu.
- Selecting an asset from the result list opens its profile (“Detail Page”).
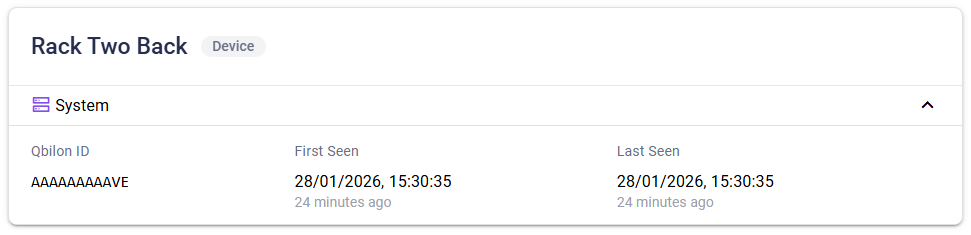
Asset Banner
The banner serves as the header for the selected asset and displays the most relevant, high-level information.- Header: Displays the asset
Nameand a badge indicating itsType. - System Properties: A collapsible section showing system-relevant data, such as the
Qbilon IDor theFirst Seenproperty. - Property Categories: Properties can be organized into specific categories, such as “Hardware” or “Network”. These categories display relevant properties for quick access. They can be managed via the “Manage Categories” option in the toolbar, which is only visible to admins and architects.
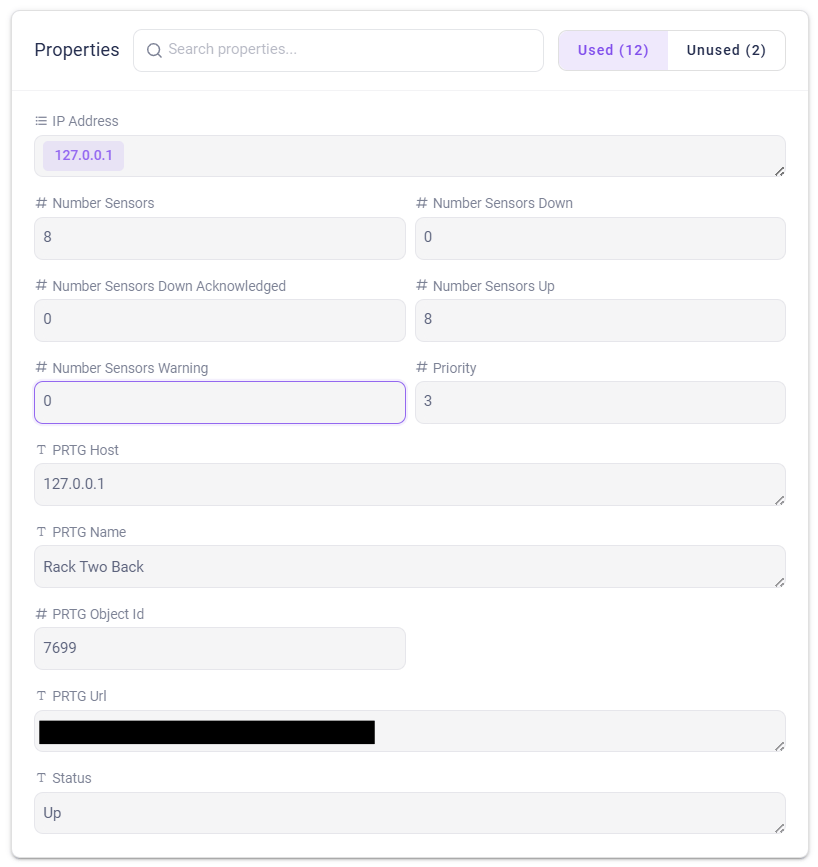
Properties Section
This section lists all the properties associated with the asset . You can search for specific properties, and the section is divided into two tabs:- Used: Displays properties that are currently assigned to the asset instance.
- Unused: Displays properties that are available for this asset type but have not yet been defined for this specific instance. The data type of each property is displayed via a respective icon.
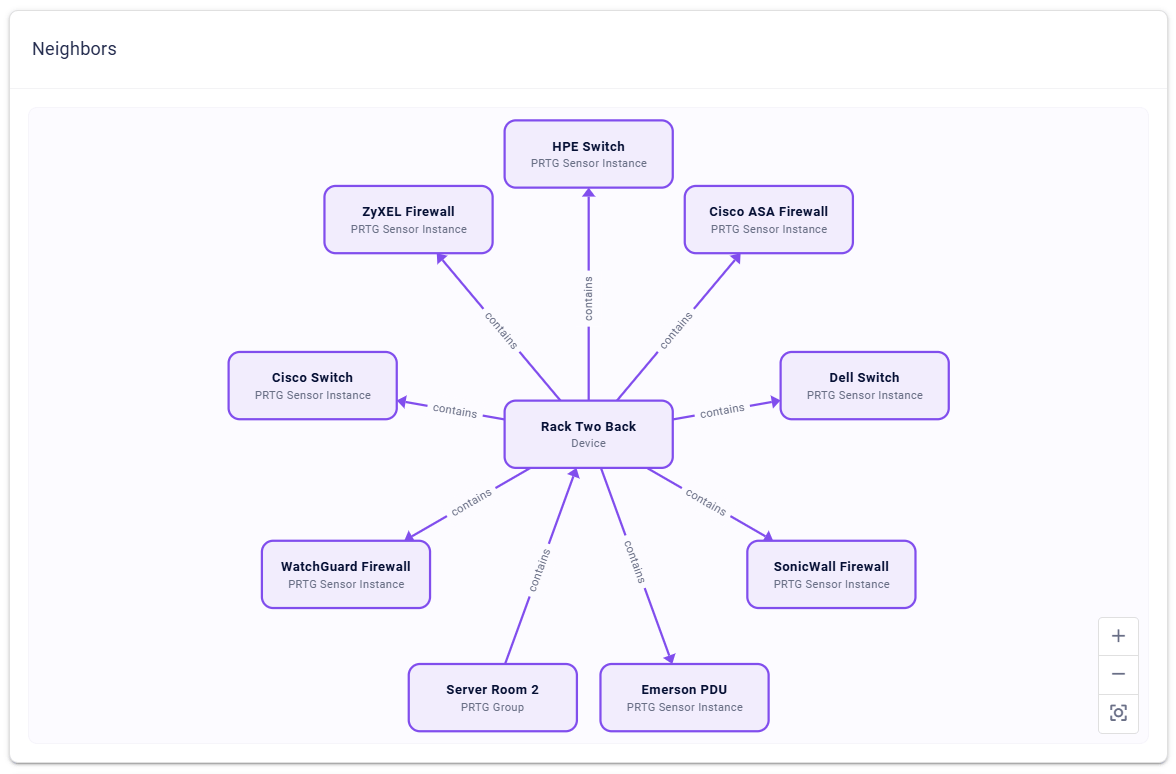
Neighbors Diagram
TheNeighbors diagram visualizes the immediate context of the selected asset.
- Visualization: The selected asset is centered with its direct neighbors (incoming and outgoing relations) displayed in a radial layout.
- Navigation: Clicking on any node or relationship in the diagram sets that asset as the new focus of the asset view.
- Zoom controls: Located in the bottom right corner, these controls allow you to fit the diagram to the screen or zoom in or out.
Relations Section
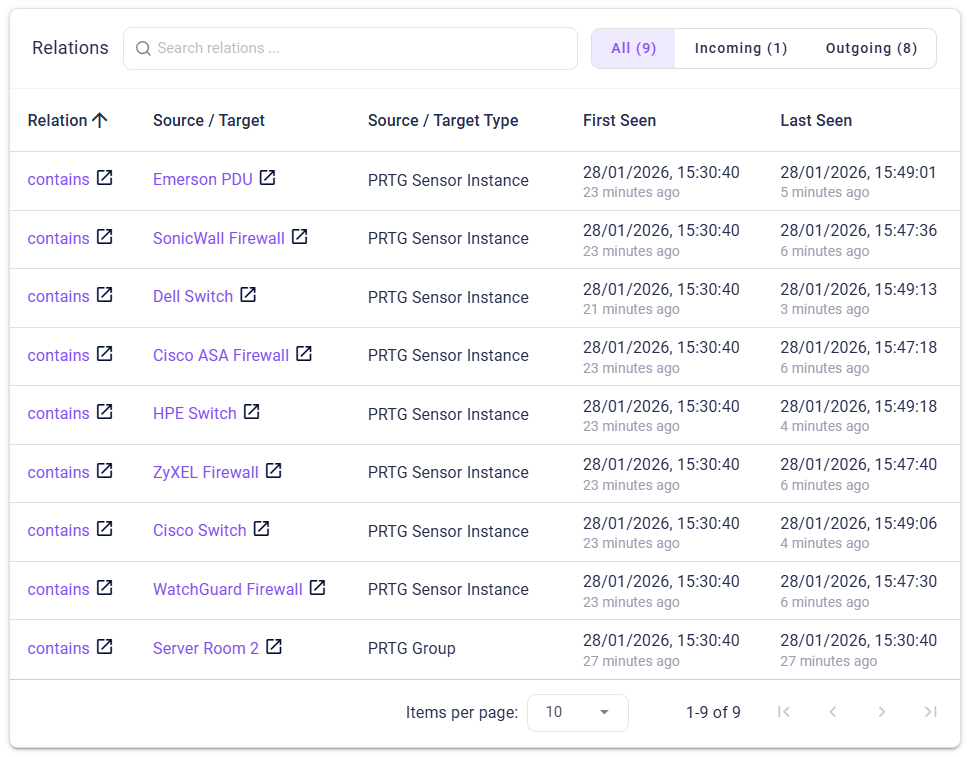
This section provides a tabular view of all connections linked to the selected asset.- Tabs: Filter relations by
All,Incoming(current asset is the target), orOutgoing(current asset is the source). - Search & Sort: Search for relations by name or target/source type, and sort them by any column.
- Drill-down: Clicking on a related asset in the table will navigate the view to that asset.
Edit Mode in Asset Profile
The asset profiles are opened in read mode by default. Click theEdit button in the top toolbar to enable the Edit Mode . In this mode, you can …
- modify property values in the
Propertiessection - add relations (via the ”+” button in the top toolbar),
- manage categories (via the “gear” button in the top toolbar) and
- delete specific properties or relations.
Toolbar Functions
The following table explains the functions available in the bottom toolbar:
Adding a Relation
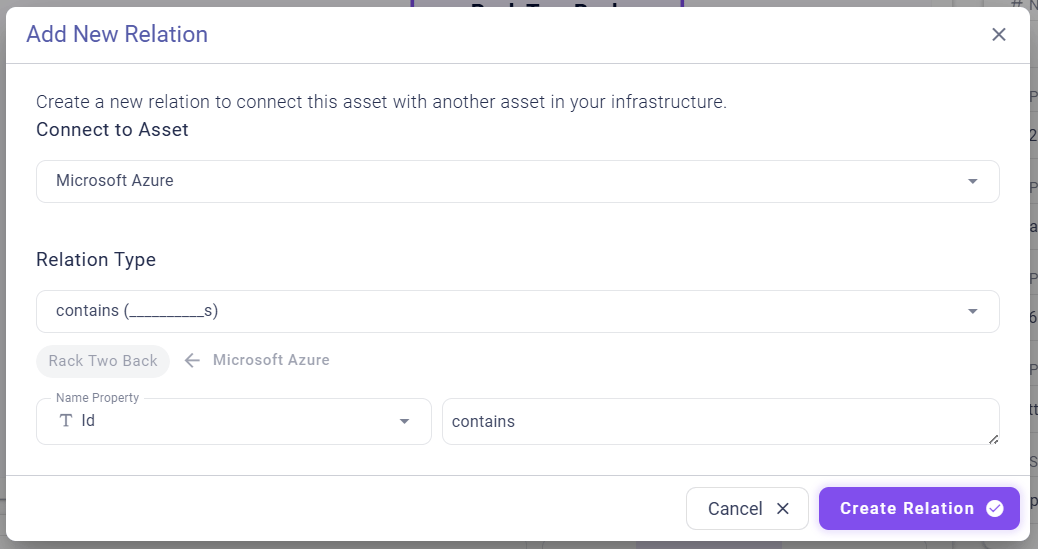
Clicking the+ button in the toolbar opens a guided dialog that assists in creating a valid connection.
- Select Target: Search for and select the asset you want to connect to. The search filters assets based on the
Data Schemato find valid targets. - Select Relation Type: Choose the type of relation (e.g., “manages,” “hosted on,” etc.). If only one type is possible, it is pre-selected.
- Define properties. (Optional) Enter a display name or value for the relation.
Managing Categories
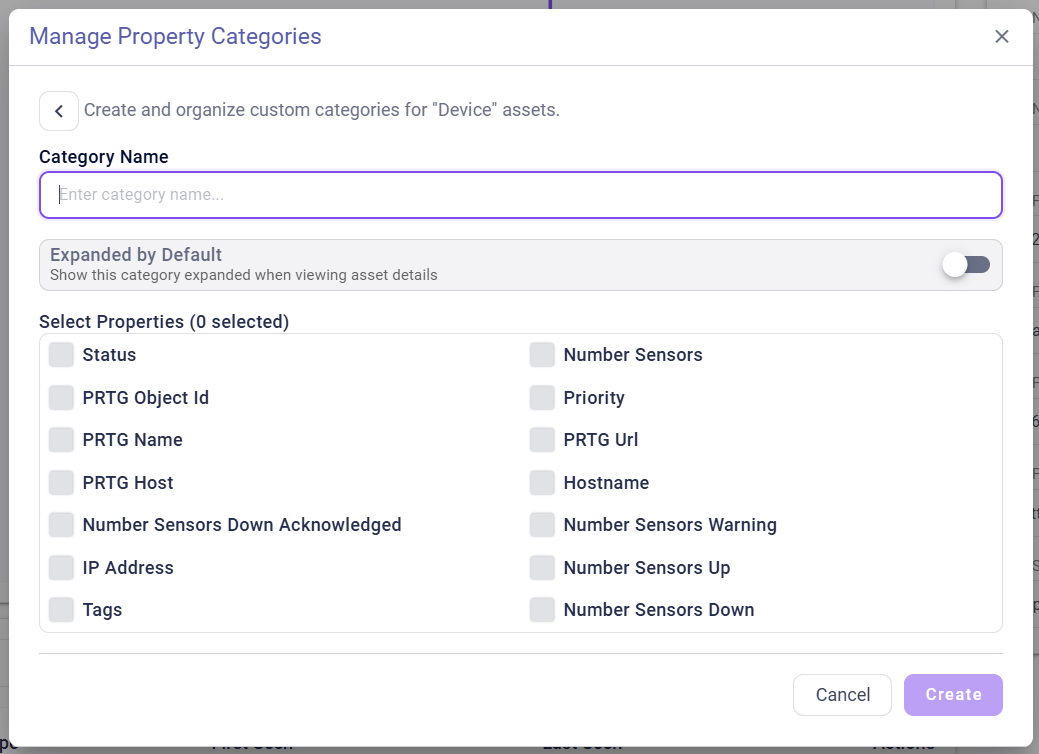
TheManage Categories dialog allows you to organize how properties are displayed in the Asset Banner.
- Categories are applied to each asset type. For example, a “Hardware” category created for a “Server” will appear for “Server” instances.
- You can name categories and assign specific properties to them. You can also define whether they should be expanded or collapsed by default.
Creating New Assets
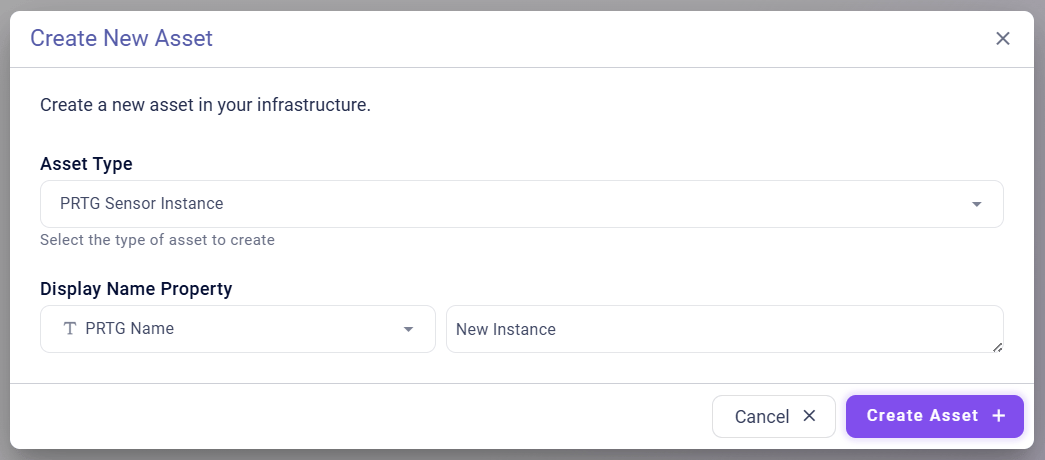
When the page is entered via the sidebar menu, there is the option to create a new Asset via the “New Asset” button.